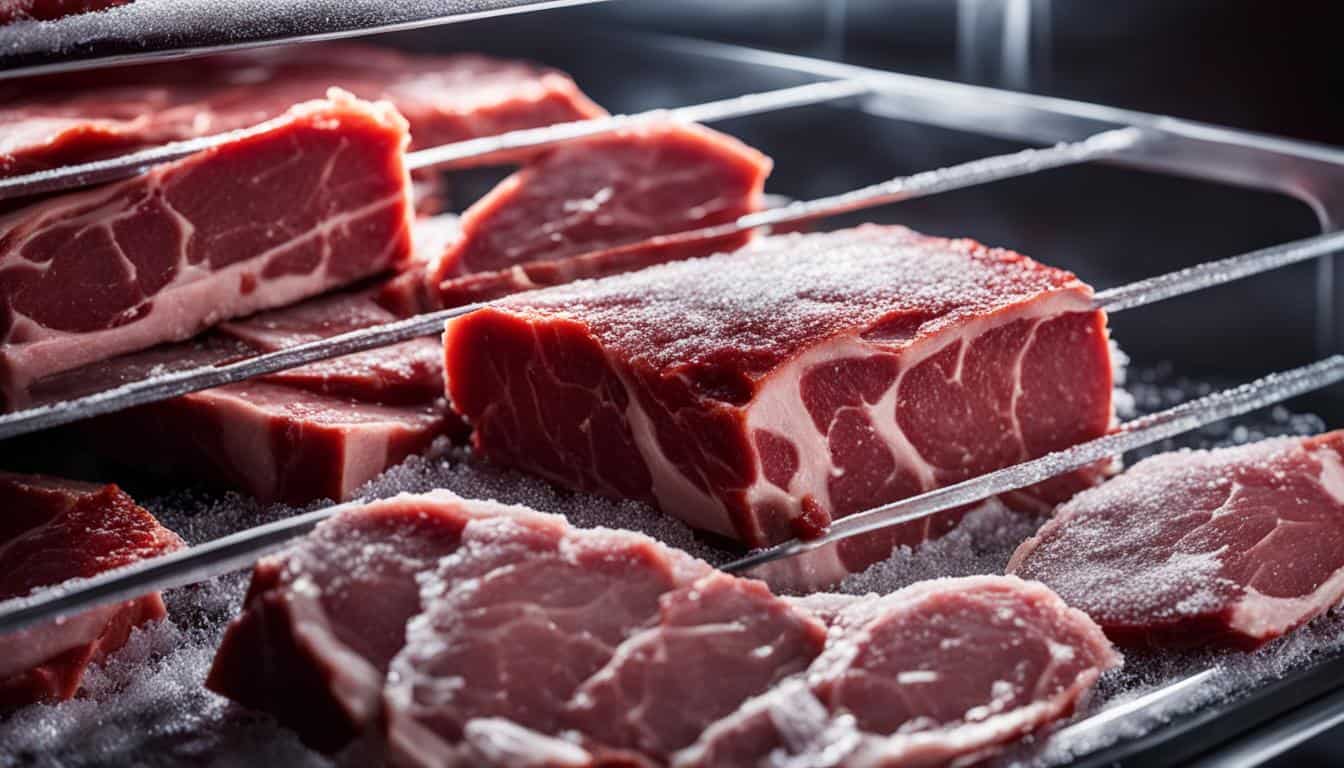
Do you struggle with maintaining optimal taste and texture when freezing meat? Look no further than these 10 freezer hacks for perfectly frozen meat every time. Don’t let the fear of freezer burn or compromised quality ruin your favorite cuts of meat.
With these tips, you’ll preserve the freshness and flavor of your meat for weeks or even months to come.
Whether you’re a seasoned chef or a kitchen amateur, these tips will make sure you have perfectly frozen meat every time you pull it out of the freezer.
By utilizing these hacks, you’ll be able to preserve your meats’ optimal taste and texture while avoiding the pitfalls of freezer burn and other common issues.
Don’t settle for packaged meat filled with preservatives when you can perfectly freeze your own fresh cuts at home with these easy tips.
1. Quick-Freeze for Perfect Texture and Moisture
When it comes to freezing meat, speed is the name of the game. Freezing meat quickly is essential to preserving its texture and moisture, and there are a few ways to achieve this:
- Use the “fast freeze” setting: Many modern freezers come equipped with a “fast freeze” setting, which can freeze meat in record time. Check your freezer’s user manual to see if this option is available and how to use it.
- Opt for a metal baking sheet: If your freezer doesn’t have a fast freeze setting, place the meat on a metal baking sheet before freezing. Metal conducts heat away from the meat, resulting in smaller ice crystals and faster freezing.
By freezing your meat quickly, you’ll lock in its natural moisture and prevent the formation of large ice crystals that can damage its structure.
2. Wrap it Tight for Maximum Protection
Properly wrapping your meat is essential to protect it from air exposure. This step is crucial to preserving the integrity of your meat.
You can use vacuum sealers for optimal protection or double-wrap your meat in plastic wrap followed by aluminum foil, removing any air bubbles to ensure maximum protection.
Eco-conscious individuals can explore reusable silicone wraps as an alternative. These wraps come in an array of different colors and sizes, making them perfect for a variety of meats.
They’re also easy to clean and can be used repeatedly. However, keep in mind that they may not provide the same level of protection as vacuum sealers.
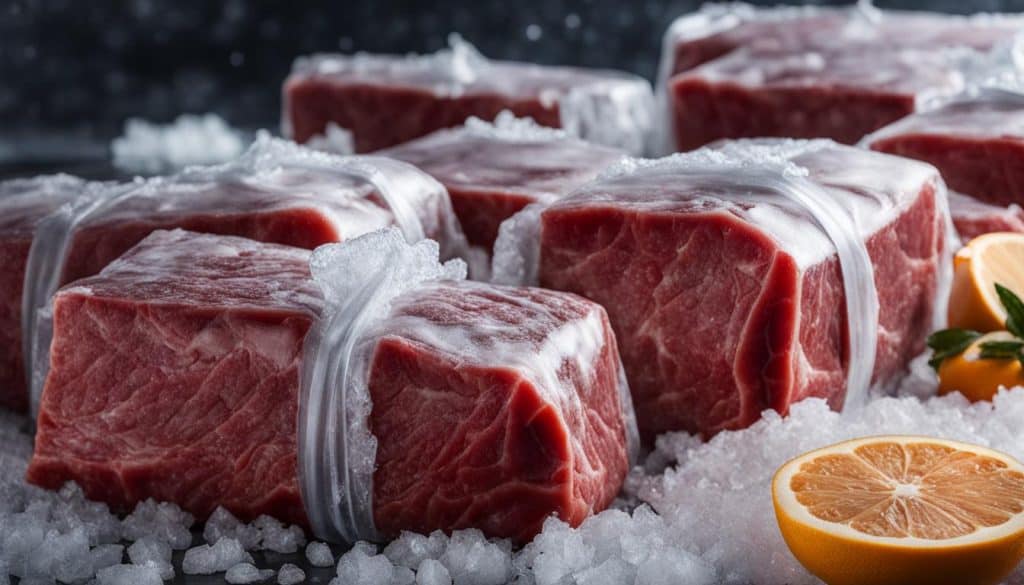
You can also use a combination of these options to achieve the best results. For example, you could vacuum seal the meat and then wrap it in aluminum foil to give it extra protection.
Always remember to wrap your meat tightly to prevent any air from getting in and accelerating the freezer burn process.
3. Portion it Out to Avoid Quality Compromise
When freezing meat, it’s important to consider how you’ll be consuming it later on. Refreezing meat can compromise its quality, texture, and flavor.
To prevent this from happening, it’s best to portion it out into individual servings or recipe amounts before freezing. By doing so, you’ll only need to thaw the exact amount you need and can avoid the risk of refreezing.
Portioning your meat can save you time in the long run. Suppose you’re meal prepping or planning for a week of meals.
In that case, it may be worthwhile to cook a large batch of meat, portion it out, and freeze it for later use. This way, you can grab a serving of meat whenever you need it, instead of spending time cooking from scratch every night.
4. Label Clearly for Easy Identification
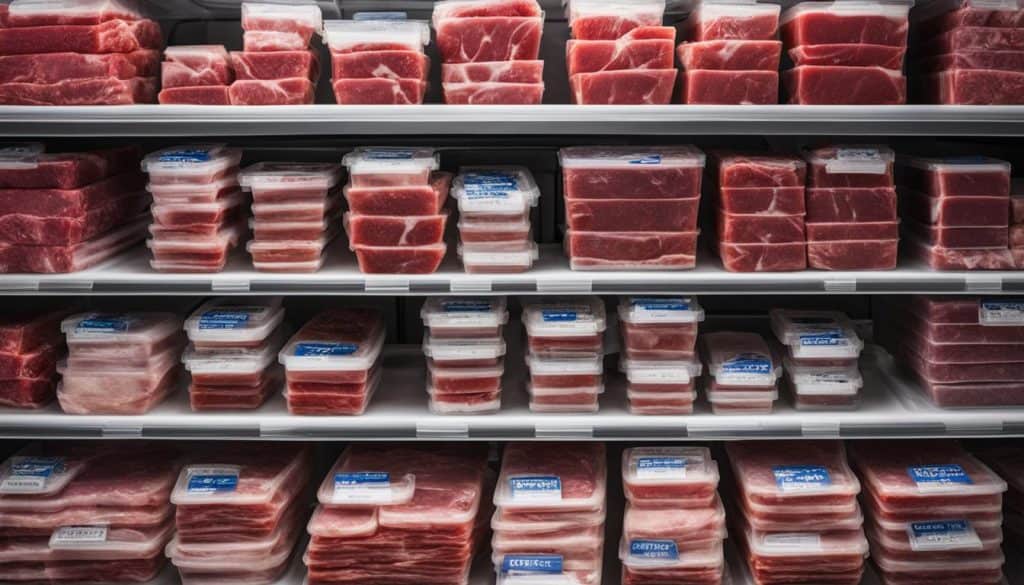
Frozen meat can become a mystery if not properly labeled. Make sure to label packages with the type of meat, cut, date, and any cooking instructions. Consider color-coding different types of meat for easy identification. Use bold text or a different font color to emphasize critical information such as use-by dates or cooking instructions.
| Type of meat | Cut | Date | Cooking Instructions |
|---|---|---|---|
| Beef | Sirloin | 5/1/22 | Grill for 10 minutes on each side |
| Chicken | Breasts | 4/24/22 | Bake at 350°F for 25 minutes |
| Pork | Tenderloin | 5/5/22 | Pan-fry for 8 minutes on each side |
Using clear labels not only ensures easy identification but also prevents any confusion or accidents in the kitchen. Remember always to use freezer-safe labels, as some materials can melt or deteriorate in the freezer.
And for an even more organized approach, consider using pre-printed labels with spaces for the date and other critical information.
Don’t forget this crucial step and make sure all your frozen meat is labeled appropriately. Trust us; your future self will thank you for it.
5. Marinate Before Freezing for Extra Flavor
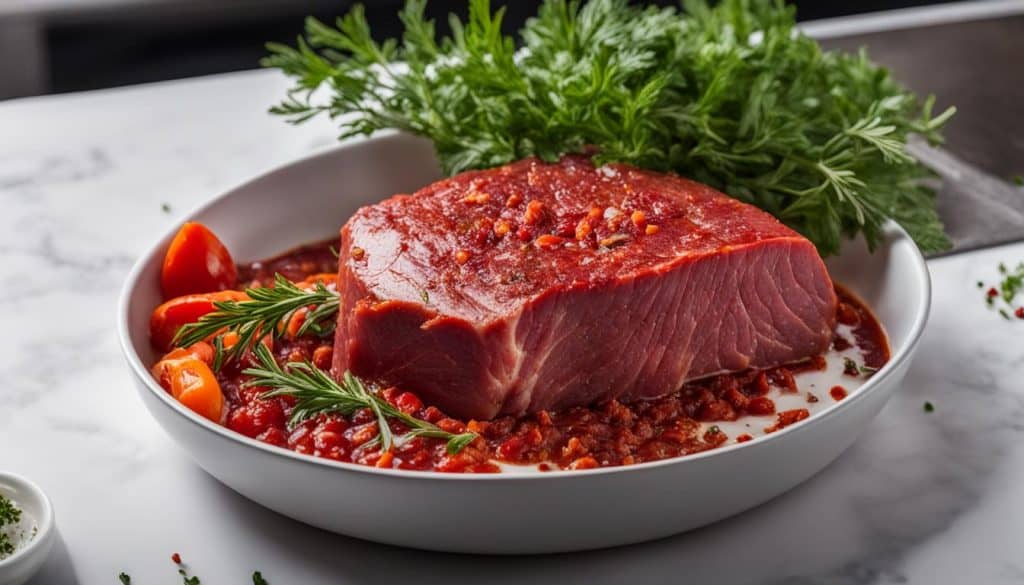
If you want to take your frozen meat to the next level, marinating before freezing is the way to go. Not only does it add extra flavor and moisture to your meat, but it also acts as a protective barrier against freezer burn.
Choose a marinade that complements the type of meat you’re freezing and marinate it for at least 30 minutes before placing it in the freezer.
For optimal results, vacuum seal the meat with the marinade before freezing. When you’re ready to cook it, simply thaw it in the refrigerator, and you’re good to go!
“Marinating meat before freezing is a game-changer. It enhances the flavor and texture of the meat, and the best part is that you can marinate and store the meat for quick dinners later on!” – Marie Kondo
6. Blanch Ground Meat to Prevent Freezer Burn
If you want to prevent freezer burn when storing ground meat, blanching is the way to go. When exposed to cold temperatures, the fat in ground meat breaks down quickly, leading to freezer burn and an off flavor.
Blanching stops this process in its tracks by heating the meat and denaturing the enzymes responsible for fat breakdown.
To blanch ground meat, bring a large pot of water to a rolling boil. Add the meat to the water, breaking it up with a fork or spoon. Cook for a few minutes until the meat loses its pink color.
Drain the meat in a colander and rinse with cold water. Use a spoon to press out any excess moisture, then let it cool completely before freezing.
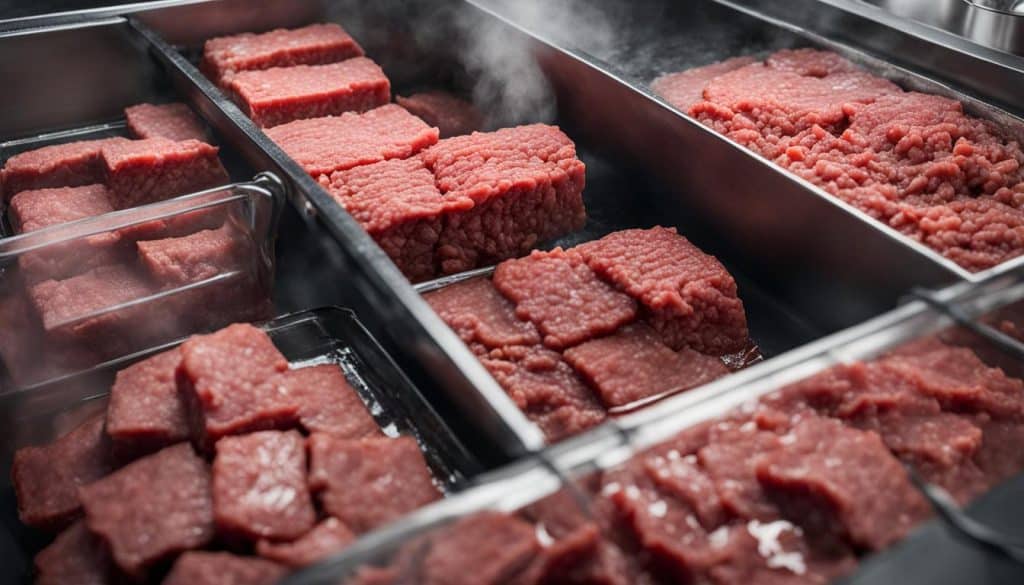
Note: Blanching ground meat is not necessary for all meats – it’s particularly useful for meats with high-fat content.
7. Chill Before Freezing to Maintain Texture
Before placing your cooked meat in the freezer, make sure it is completely cooled off. Allowing it to chill fully before freezing ensures that it maintains its texture and taste over time. If you put it in the freezer while it’s still hot, it can develop freezer burn, leading to a dry, tough, and unappetizing texture.
Freezer burn can happen when the moisture in the meat evaporates, leaving behind ice crystals that affect its quality. To avoid this, wrap the meat well and put it in a proper storage container. Proper wrapping can help retain moisture and prevent freezer burn.
You can use plastic wrap or aluminum foil to wrap your meat, making sure to remove as much air as possible. Wrapping your meat in reusable silicone wraps is also an option that is both eco-friendly and safe for the environment.
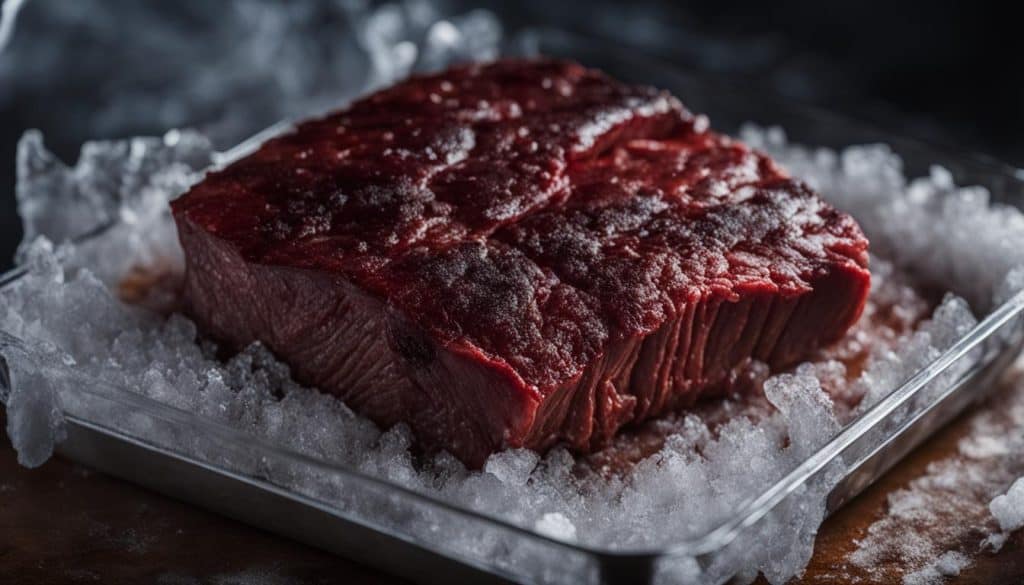
In addition to proper wrapping, chilling your meat fully before freezing is essential for maintaining perfect texture. Invest in a good quality refrigerator thermometer to ensure that your cooked meat has cooled to under 40°F before being put in the freezer. This will help you avoid excess ice formation and prevent freezer burn.
8. Freeze Flat for Even Freezing
Properly storing your meat in the freezer is crucial for maintaining its flavor and texture. One tip to achieve this is to freeze your meat flat to ensure even freezing. When meat is stored upright, the top layer freezes faster than the rest of the meat, resulting in uneven freezing and potential freezer burn on the exposed surfaces.
If you don’t have enough space in your freezer to lay your meat flat, consider using stand-up freezer bags.
These bags are designed to stand upright, allowing you to store meat in an organized manner without sacrificing space or even freezing. Alternatively, you can lay the meat flat on a tray and then transfer it to a freezer-safe container once it’s frozen.
Remember, proper freezing techniques can extend the life of your meat and prevent waste. Utilizing stand-up freezer bags or storing your meat flat on a tray are easy ways to ensure your meat stays fresh and avoids freezer burn.
9. Thaw Safely for Best Results
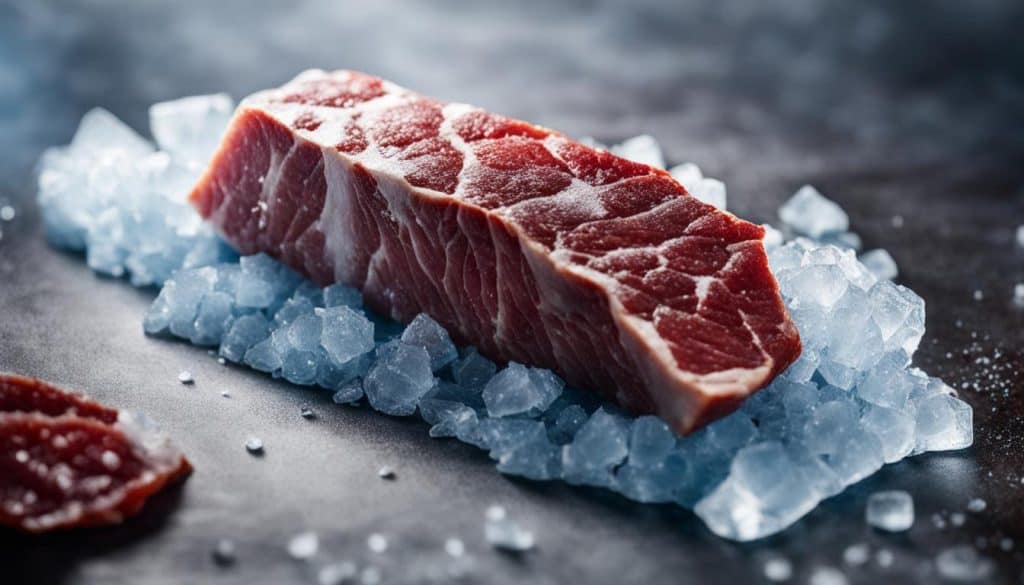
Proper thawing ensures that your meat maintains its quality. The last thing you want is a dish ruined by unthawed portions or harmful bacteria. Here are the safest methods to thaw your meat:
Refrigerator Thaw
The refrigerator method is the safest way to thaw meat. Transfer the frozen meat from the freezer to the refrigerator and let it thaw slowly. Allow approximately 24 hours of thawing time for every 5 pounds of meat. Remember to place the meat on a plate or in a container to catch any juices that may leak.
Cold Water Thaw
If you can’t wait 24 hours for your meat to thaw, submerge the vacuum-sealed package in cold water. Change the water every 30 minutes, ensuring that the meat stays cold. Allow 30 minutes of thawing time for every pound of meat.
Room Temperature Thaw
Avoid thawing meat at room temperature, as it is the least safe of the methods. Leaving meat out can promote bacterial growth, and uneven thawing can result in overcooked, dry portions, and unthawed, potentially harmful ones.

Remember, bacteria growth occurs between 40°F and 140°F, so it’s essential to keep your meat at safe temperatures t oughout the thawing process.
10. Use Within 3 Months for Optimal Flavor
When it comes to frozen meat, time is of the essence. While it can be tempting to keep your favorite cuts in the freezer for as long as possible, it’s important to use them within 3 months for optimal flavor and texture.
Poultry should be used within 2 months of freezing, while red meat can last up to 3 months. After this time, the meat can start to develop freezer burn, which can affect both flavor and texture. To avoid this, make sure to keep track of the time and rotate your frozen meat supply accordingly.
If you’re unsure how long a particular cut has been in the freezer, it’s always better to err on the side of caution. When in doubt, perform a visual and smell check before using the meat in your recipes. Fresh meat should not have any discoloration or unpleasant odors.
By using frozen meat within 3 months, you can ensure that your dishes are always bursting with flavor and cooked to perfection. So go ahead and stock up on your favorite cuts, but remember to use them before time runs out!
