If you love hummus but don’t have a blender, don’t worry! Making homemade hummus without a blender is easier than you think. Whether you’re trying to avoid the hassle or prefer a more traditional approach to hummus-making, we’ve got you covered.
We’ll show you how to make hummus without a blender in a few easy steps. From preparing the chickpeas to adding the final ingredients, we’ll guide you towards creating a delicious homemade hummus that will impress your taste buds.
With our helpful tips and guidance, you’ll soon be able to whip up a batch of homemade hummus without needing any fancy equipment.
Say goodbye to store-bought hummus and hello to a homemade version that’s just as tasty. Keep reading to discover how to make hummus without a blender.
Traditional Hummus-Making Techniques
While traditionally hummus is made using a blender or food processor, other methods can be just as effective and require simpler tools. Some of these techniques include using a potato masher or mortar and pestle.
Using a potato masher involves mashing the chickpeas and other ingredients by hand until they reach a smooth consistency.
On the other hand, using a mortar and pestle requires grinding the chickpeas with circular motions until they are almost smooth. While both methods may require more effort, they can produce a smoother hummus.
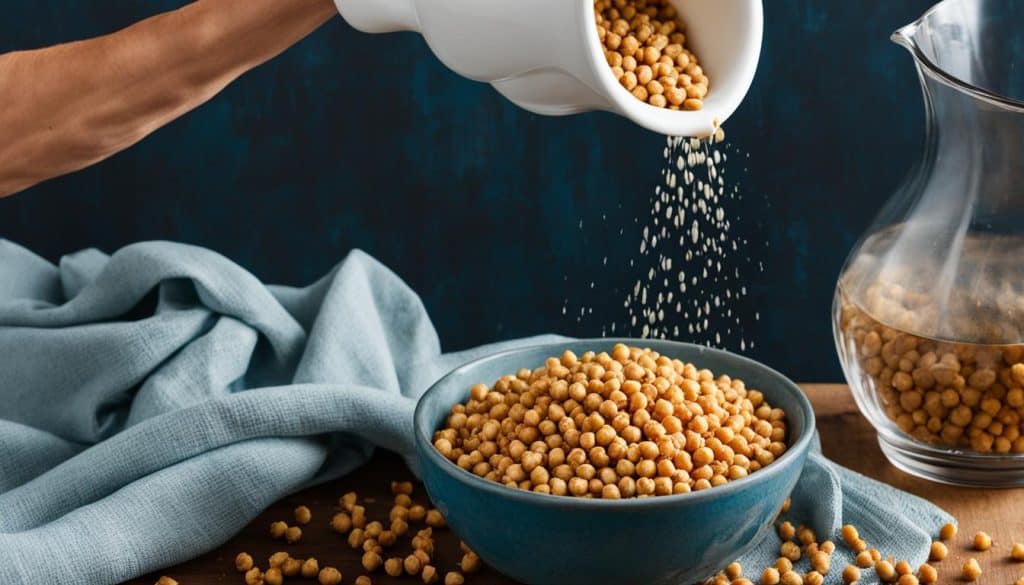
Regardless of which traditional technique you choose, ensure that you follow the same steps as you would when using a blender or food processor. Start by soaking dried chickpeas overnight or cooking them until tender.
Then drain and rinse the chickpeas, and remove the skins if desired. Mash or grind the chickpeas until they are smooth before adding ingredients such as tahini, olive oil, lemon juice, garlic, and salt.
Method 1: Using a Potato Masher
If you don’t have a blender at home, don’t worry. You can still make creamy, delicious hummus using just a potato masher. This classic method requires a little elbow grease but is worth the effort.
Before you start, make sure you have all the ingredients you need and that your chickpeas are prepared (more on that in Section 4). Once you’re ready, follow these steps:
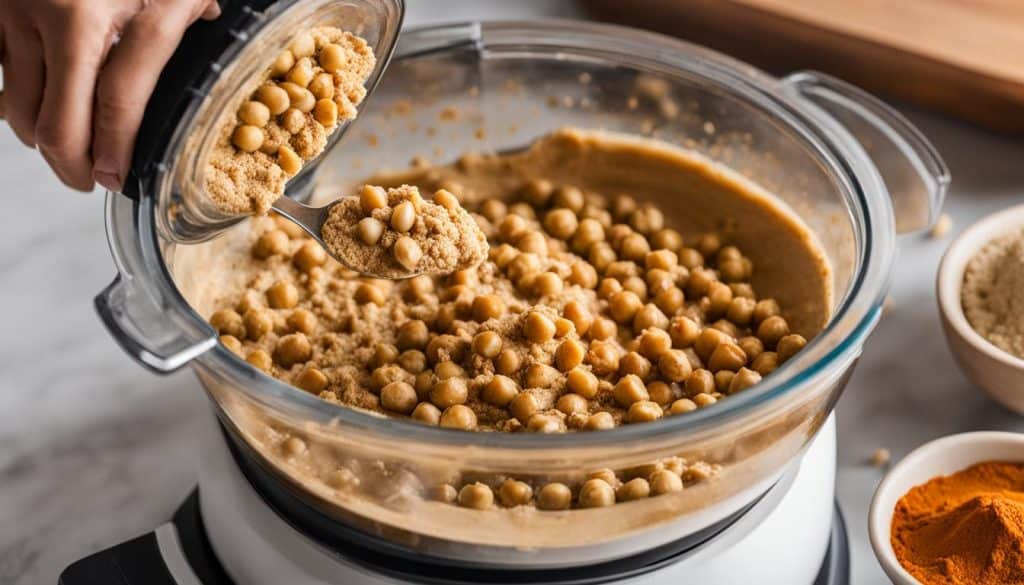
- Put the chickpeas in a mixing bowl and mash them with a potato masher until they are mostly smooth. Leave a few chunks if you prefer a more textured hummus.
- Incorporate the tahini, olive oil, lemon juice, garlic, and salt into the mashed chickpeas. Mash again until the ingredients are well combined and the consistency is smooth.
- Taste the hummus and adjust the seasonings as needed. Add more salt, lemon juice, or garlic for extra flavor.
And that’s it! With just a potato masher and a little bit of muscle, you can create a homemade hummus that’s just as good as one made with a blender.
Looking for a visual guide? Check out the step-by-step instructions in the table below:
How to Make Hummus Using a Potato Masher
| Step | Description | Image |
|---|---|---|
| 1 | Mash chickpeas with a potato masher until mostly smooth. | |
| 2 | Add tahini, olive oil, lemon juice, garlic, and salt; mash again until combined and smooth. | |
| 3 | Taste and adjust seasonings as needed. |
Soaking and Preparing Chickpeas
To make delicious and smooth homemade hummus, you need to start with properly prepared chickpeas.
You can either soak dried chickpeas overnight or cook them until they are tender. Soaking can take up to 12 hours, while cooking can take anywhere from 1 to 2 hours. Once the chickpeas are cooked or soaked, be sure to drain and rinse them well.
If you want an even smoother texture for your hummus, you can remove the skins from the chickpeas. This step is optional but can make a noticeable difference.
To remove the skins, gently rub the chickpeas between your fingers or on a towel until the skins start to come off. You can then rinse the chickpeas again to remove any leftover skins or debris.
Once the chickpeas are prepared, you’re ready to start making your hummus!

Mashing the Chickpeas with a Potato Masher
Now that you have prepared the chickpeas, it’s time to mash them using a potato masher. This method allows you to achieve a smooth, creamy consistency without the use of a blender. Here’s how to do it:
- Mash the chickpeas in a bowl with a potato masher until they are mostly smooth.
- Add the tahini, olive oil, lemon juice, garlic, and salt, and mash again until well combined.
- Taste and adjust the seasonings as needed.
You may need to add a little bit of water to achieve the desired consistency. Don’t worry if there are a few small chunks of chickpeas left; they will add texture to your hummus.
To get a creamy consistency, make sure to mash the chickpeas thoroughly. You can also use a fork if you don’t have a potato masher.
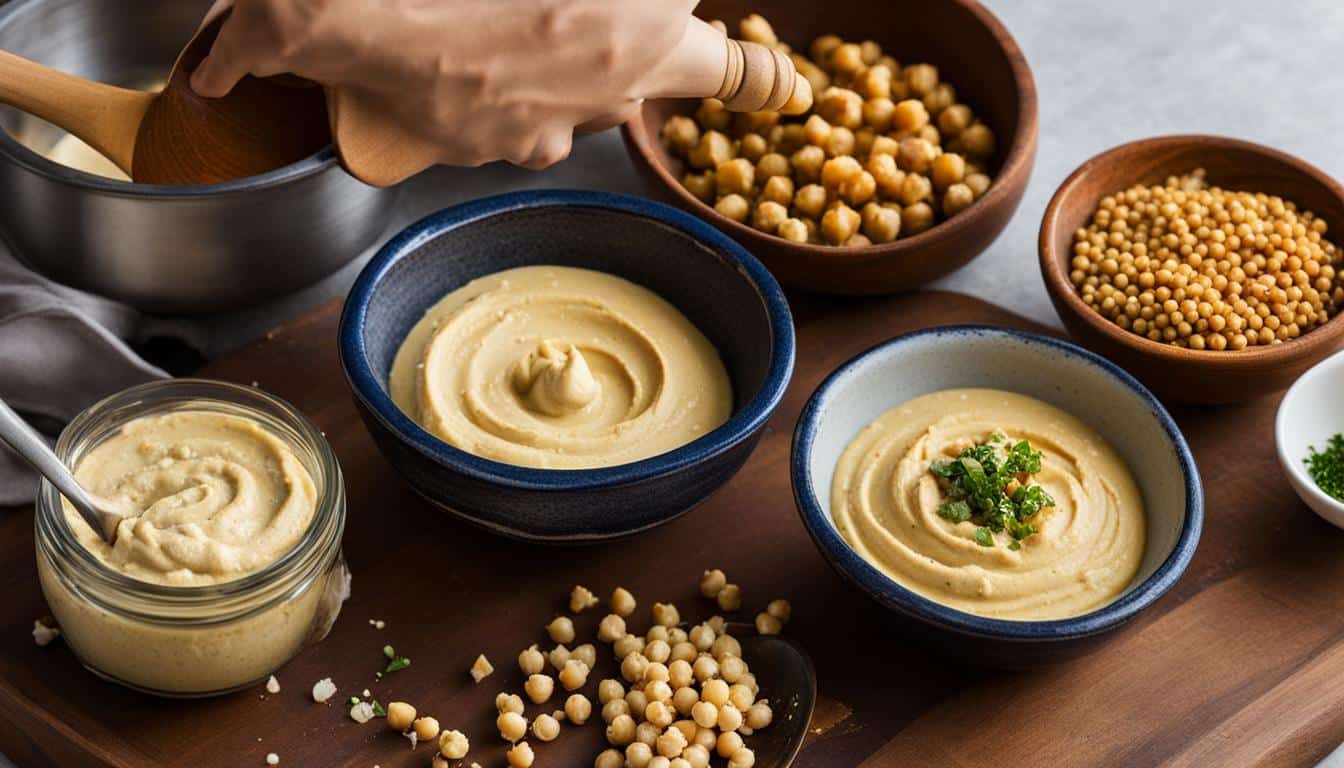
When you’re finished mashing, your hummus should be smooth and creamy. You can serve it immediately or store it in the refrigerator for later use.
Adding Ingredients and Finalizing the Hummus
Now that you have mashed the chickpeas, it’s time to add the remaining ingredients to complete your hummus.
| Ingredients: | Amount: |
|---|---|
| Chickpeas, drained and rinsed | 1 can or 1 cup cooked |
| Tahini | 2 tablespoons |
| Olive oil | 2 tablespoons |
| Lemon juice | 2 tablespoons |
| Garlic, minced | 2 cloves |
| Salt | To taste |
Start by adding the tahini, olive oil, lemon juice, garlic, and salt to the bowl with the mashed chickpeas. Use the potato masher again to mash the ingredients until they are well combined and the hummus is smooth. Taste the hummus and adjust the seasonings as needed. Add more lemon juice, garlic, or salt depending on your preferences.
Once you have reached the desired consistency and seasonings, your hummus is ready to be served.
Method 2: Using a Mortar and Pestle
For those who prefer the traditional method of making hummus, the mortar and pestle technique is an excellent option. This method might take a bit more time and effort, but it can create a smoother hummus consistency.
To make hummus with a mortar and pestle, you’ll need to grind the chickpeas by hand until they reach the desired consistency. Here’s how:
- Start by adding a few tablespoons of chickpeas to the mortar and pestle.
- Grind the chickpeas with a circular motion until they are almost smooth.
- Add a little tahini, and continue grinding until well combined.
- Repeat the process with more chickpeas and other ingredients until you have reached the desired consistency.
Don’t be afraid to add more chickpeas or seasonings to your hummus as needed. You are in control of the final taste and texture!
Using a mortar and pestle is an excellent way to achieve a homemade hummus that is smooth and delicious. Plus, it’s a fun cooking activity that you can enjoy with friends or family members.
Grinding Chickpeas with a Mortar and Pestle
If you don’t have a blender or food processor, you can still make creamy hummus using a mortar and pestle. The key is to grind the chickpeas until they are almost smooth. Here’s how:
Step 1: Start by adding a few tablespoons of chickpeas to the mortar and pestle. Remember not to add too much at once as it might make the grinding process more challenging.
Step 2: Use a circular motion to grind the chickpeas with the pestle until they become almost smooth. This will take several minutes, so be patient and keep grinding.
Step 3: Once you have ground the chickpeas, add a little tahini to the mortar and continue grinding until well combined.
Step 4: Finally, add more chickpeas and other ingredients as needed until you have reached the desired consistency. Taste and adjust the seasonings as necessary.
By following these steps, you can create a delicious hummus without the need for a blender or food processor.
Continuing and Adjusting the Hummus Using a Mortar and Pestle
Once you have ground the chickpeas in the mortar and pestle, it’s time to add the flavorful tahini. Mix in a little tahini and continue grinding until the ingredients are well combined. This will help to ensure that the tahini is evenly distributed t oughout the hummus.
If you find that the hummus is too thick, slowly add more chickpeas as needed until you have reached the desired consistency. You can also adjust the flavor by adding more lemon juice, garlic, or salt to taste.
Remember that making hummus is an art, and it takes patience to get it just right. With each new batch, you’ll learn a little more about what works for you and your taste buds.
So don’t be afraid to experiment! Try adding new ingredients like roasted vegetables, fresh herbs, or spices to your hummus. It’s a tasty way to get creative and add your own unique twist to this classic dip.
Tips for Perfect Hummus
- Hummus can be stored in the refrigerator for up to 5 days.
- Hummus is a great source of protein, fiber, and healthy fats.
- You can get creative with your hummus by adding roasted vegetables, fresh herbs, or spices.
- Hummus can be enjoyed with pita bread, vegetables, crackers, or as a dip for falafel.
Using a Food Processor as an Alternative
If you have a food processor available, it can be a great alternative to a blender for making hummus. Even if your food processor is not very powerful, you can still use it to achieve a smooth and creamy consistency.
To use a food processor to make hummus, start by following the same steps for preparing the chickpeas, whether you soaked them overnight or cooked them until they are tender. Drain and rinse the chickpeas and remove the skins if desired.
Next, add the chickpeas to the food processor and pulse until they are chopped and blended. Then, add the rest of the ingredients – tahini, olive oil, lemon juice, garlic, and salt – and continue to pulse until they are well combined and the hummus has reached your desired consistency.

Using a food processor is a quick and easy way to make hummus without a blender. It saves time and effort compared to traditional methods like using a potato masher or mortar and pestle.
However, keep in mind that a food processor may not produce the same ultra-smooth texture as a high-powered blender.
Experiment and find the method that works best for you, or switch it up each time you make hummus for added variety!
Tips and Creative Variations
If you’re new to making hummus, don’t worry, it’s easy and rewarding. Once you’ve made your first batch of homemade hummus, you’ll never go back to store-bought. Here are some tips to help you make the perfect hummus every time:
- Hummus can be stored in the refrigerator for up to 5 days, making it a great option for meal prepping or a healthy snack on-the-go.
- Hummus is a great source of protein, fiber, and healthy fats, making it a nutritious addition to any meal or snack.
- Get creative with your hummus by adding roasted vegetables, fresh herbs, or spices. Try adding roasted red peppers, sun-dried tomatoes, or even roasted garlic to give your hummus a twist.
- Hummus can be enjoyed with pita bread, vegetables, crackers, or as a dip for falafel. If you’re feeling adventurous, try using hummus as a spread on your next sandwich or wrap.
Remember, the key to making great hummus is experimenting and finding the flavors and textures that work best for you. So, grab your ingredients and get ready to make the best hummus you’ve ever tasted!


