If you’re a coffee enthusiast, you’ve probably admired the intricate latte art that baristas craft atop lattes in cafes. Latte art, the practice of creating designs on the surface of a latte, has become a popular trend among home baristas too. It’s not just about making your morning cup look good; it’s a way to express creativity and enhance your coffee experience.
One key element in this artistic journey is the espresso machine, particularly those equipped with a steam wand. A steam wand is crucial for creating the silky, microfoamed milk necessary for latte art. It allows you to control the temperature and texture of the milk, which are essential factors in achieving the perfect froth for your designs.
Having a good espresso machine with a capable steam wand transforms the experience of making coffee at home. It’s about more than just the taste; it’s about the joy of crafting something beautiful and unique. Whether you’re a beginner or an experienced home barista, mastering latte art can be both challenging and rewarding.
In the next sections, we’ll delve into how to choose the right espresso machine for your latte art adventures, tips for perfecting your technique, and some basic designs to get you started. So, grab your favorite coffee cup, and let’s dive into the world of home latte art.
< class="wp-block-separator has-alpha-channel-opacity"/>Understanding Espresso Machines and Steam Wands

Espresso Machines: Basics and Types
Espresso machines are the heart of crafting a great espresso. They come in various types, each with unique features and methods of extraction:
- Manual Espresso Machines: These require you to manually pull a lever to create the pressure for extraction. It offers a hands-on experience and greater control over the brewing process.
- Semi-Automatic Machines: These machines automate the water flow but leave the grind size, tamping, and timing to you. They strike a balance between manual control and convenience.
- Automatic Machines: They control the water flow and extraction time, making the process easier. However, you still grind and tamp the coffee.
- Super-Automatic Machines: These are the most user-friendly. They grind, tamp, extract, and sometimes even froth the milk, offering a full ‘bean-to-cup’ experience.
Each type influences the espresso’s flavor and texture, and the choice depends on how much control or convenience you desire.
The Role of Pressure and Heat
The essence of espresso making lies in the right balance of pressure and heat. Espresso machines use high pressure to force hot water t ough finely-ground coffee, resulting in a concentrated and flavorful shot. The ideal pressure is around 9 bars, while the temperature should be near 200°F for optimal extraction.
Steam Wands: How They Work
Explanation of Steam Wand Mechanics
A steam wand is a crucial component of an espresso machine, especially for those who love milk-based coffees. It consists of:
- Nozzle: Where the steam is released.
- Steam Valve: Controls the flow and pressure of the steam.
- Milk Jug: Used for frothing milk. The design of the jug can affect the frothing process.
The steam wand works by releasing steam under pressure t ough the nozzle, which is submerged in milk to create froth. The steam heats and aerates the milk, creating the microfoam necessary for latte art.
Types of Steam Wands
The type of steam wand can significantly impact your milk frothing experience:
- Panarello Wand: Ideal for beginners, it automatically injects air into the milk, making it easier to create froth.
- Commercial-Style Wand: Found in professional machines, it offers greater control but requires more skill to use effectively.
Each type of steam wand offers different levels of control and can affect the texture and quality of the milk froth. Choosing the right one depends on your skill level and the type of milk-based beverages you enjoy.
< class="wp-block-separator has-alpha-channel-opacity"/>Choosing the Right Espresso Machine for Latte Art

Key Features to Look For
When selecting an espresso machine for latte art, certain features are crucial to ensure both the quality of your espresso and the perfection of your latte art:
- Steam Wand Quality and Control: The steam wand is essential for creating microfoam milk, vital for latte art. Look for machines with a steam wand that offers good pressure and is easy to control.
- Boiler Type and Temperature Stability: Consistent temperature is key for both espresso extraction and milk steaming. Single boilers can do the job but may require waiting between brewing and steaming. Dual boilers or heat exchange systems offer more convenience and stability.
- Espresso Extraction Quality: The quality of the espresso shot is the foundation of any coffee-based beverage. Ensure the machine can produce a rich, balanced espresso. Pay attention to factors like pressure consistency and the ability to fine-tune settings.
Top Espresso Machine Recommendations
For those aspiring to create latte art at home, here are some top espresso machine recommendations, categorized by price range:
- Entry-Level: Ideal for beginners or those on a tight budget. These machines often have basic features but can still produce a decent shot of espresso and steam milk adequately. Example: Delonghi EC155.
- Mid-Range: These machines offer a balance between price and functionality. They typically have better build quality, more consistent temperature control, and enhanced steam wands. Example: Breville Barista Express.
- Premium: For the serious home barista, these machines offer top-of-the-line features, including dual boilers, sophisticated temperature controls, and superior steam wands. They are built to last and deliver exceptional performance. Example: Rocket Espresso Appartamento.
By focusing on these key features and selecting a machine that fits your skill level and budget, you’ll be well-equipped to start practicing latte art at home, transforming each cup of coffee into a work of art.
< class="wp-block-separator has-alpha-channel-opacity"/>The Basics of Milk Frothing

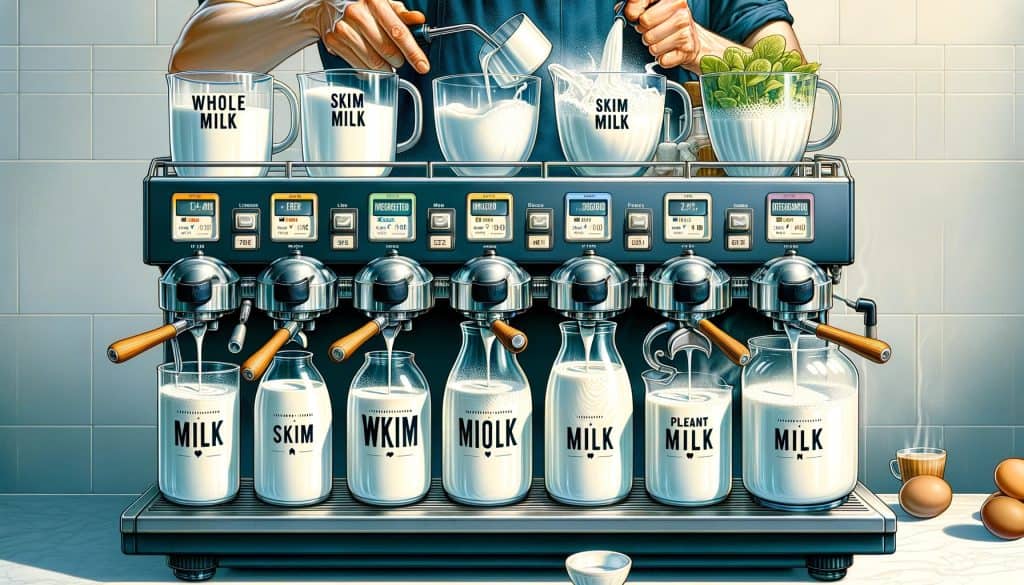
Milk Types and Their Frothing Characteristics
Understanding the different types of milk and how they froth is crucial for perfect latte art. Here’s a comparison:
- Whole Milk: Known for its rich, creamy texture, whole milk froths easily, creating smooth, velvety microfoam perfect for latte art.
- Skim Milk: While it can create a larger volume of froth, skim milk often results in less creamy and more airy foam, which can be challenging for intricate latte art.
- Plant-Based Milks: These vary widely in frothing ability. Soy and oat milk often froth well, mimicking the consistency of cow’s milk. Almond and rice milk can be more challenging due to lower protein content.
Techniques for Perfect Froth
To achieve the perfect froth for latte art, follow this step-by-step guide:
- Start with Cold Milk: Cold milk froths better. Fill your milk jug to just below the spout to allow room for expansion.
- Position the Steam Wand: Submerge the tip just below the milk’s surface. This position helps create a swirling vortex in the milk.
- Introduce Air (Stretching): For the first few seconds, keep the tip near the surface to introduce air into the milk, creating foam.
- Submerge the Wand (Texturing): Once you have enough foam, submerge the wand deeper to heat the milk and refine the foam texture.
- Control the Temperature: Aim for a temperature between 140°F and 160°F. Overheating can scald the milk and ruin the texture.
- Swirl and Tap: After steaming, swirl the milk jug and tap it on the counter to break any large bubbles and create a smooth, glossy microfoam.
Common Mistakes to Avoid
Here are some common mistakes to avoid while frothing milk for latte art:
- Overfilling the Milk Jug: This can lead to spillage and poor froth quality.
- Incorrect Wand Positioning: This can result in large bubbles or insufficient foam.
- Overheating the Milk: Scalding the milk affects its taste and texture.
- Not Cleaning the Steam Wand: Always clean the wand after use to avoid milk residue build-up.
By understanding these basics of milk frothing, you’ll be better equipped to create that perfect, creamy base for your latte art. Remember, practice makes perfect, so don’t hesitate to experiment with different milks and techniques.
< class="wp-block-separator has-alpha-channel-opacity"/>Mastering Latte Art Techniques

Foundational Patterns
Mastering basic latte art patterns is the first step to becoming a skilled latte artist. Here are instructions for t ee foundational patterns:
- Heart:
- Pour: Start with your pitcher close to the cup, pouring milk into the center of the espresso.
- Shape: As the cup fills, slightly lift the pitcher and pour faster to create a round shape.
- Finish: Move the pitcher across the cup’s surface and then quickly t ough the middle to create the heart’s point.
- Rosetta:
- Pour: Begin with a thin stream of milk in the center of the espresso.
- Wiggle: As the foam starts to appear, wiggle the pitcher back and forth while slowly moving it backward.
- Finish: Draw the pitcher t ough the leaf pattern to create the stem of the rosetta.
- Tulip:
- Pour: Start with a small blob of foam in the center.
- Layer: Lift and pour again to create another layer on top.
- Finish: Repeat the process to form multiple layers and then draw t ough to create the tulip effect.
Advanced Artistic Techniques
For those ready to advance their skills, here are tips for more complex designs:
- Swans:
- Base: Begin with a large base similar to a heart.
- Body: Pour a smaller blob of milk for the swan’s body.
- Neck and Head: Use fine movements to create a curved line for the neck and a small dot for the head.
- Faces:
- Outline: Start with the basic shape of a face.
- Features: Use a toothpick or a fine needle to draw detailed facial features.
- Shading: Skillfully manipulate the foam and crema for shading and depth.
- Abstract Art:
- Freeform: Let your creativity guide your pouring technique.
- Tools: Utilize tools like toothpicks for intricate designs.
- Colors: Experiment with colored syrups or powders for a vibrant effect.
Mastering these latte art techniques requires patience, practice, and a steady hand. Start with foundational patterns and gradually progress to more advanced designs. Each cup of coffee is a new canvas to express your creativity and skill. Remember, latte art is not just about the final look; it’s about the joy of creating something beautiful and unique with each pour.
< class="wp-block-separator has-alpha-channel-opacity"/>Tips for Consistent Latte Art

Practice and Patience
Creating beautiful latte art takes time and practice. It’s important to be patient with yourself as you learn. Here are some tips to help you improve:
- Start Simple: Begin with basic shapes like hearts or rosettas before attempting more complex designs.
- Consistent Practice: Try to practice regularly, even if it’s just one cup a day.
- Learn from Mistakes: Every failed attempt is a learning opportunity. Note what went wrong and adjust your technique.
- Watch and Learn: There are many tutorials online that can provide guidance and inspiration.
- Seek Feedback: Share your progress with others who can offer constructive criticism.
Maintaining Your Equipment
Proper maintenance of your espresso machine and steam wand is crucial for consistent latte art. Here’s what you need to do:
- Daily Cleaning: Clean the steam wand after every use to prevent milk residue buildup.
- Regular Descaling: Depending on your water hardness, descale your espresso machine every 2-3 months.
- Check for Wear and Tear: Regularly inspect and replace worn out parts like gaskets and filters.
- Use Filtered Water: To prevent scale buildup and maintain the machine’s efficiency.
- Professional Servicing: Have your machine serviced by a professional at least once a year.
Consistent practice and proper equipment maintenance are key to mastering latte art. Remember, the journey is as rewarding as the destination, so enjoy each step of your latte art journey!
< class="wp-block-separator has-alpha-channel-opacity"/>Conclusion
Creating latte art at home is more than just a skill—it’s an art that brings joy and a sense of accomplishment. It’s amazing how a simple cup of coffee can transform into a canvas for beautiful designs. Whether it’s a heart, a rosetta, or a more complex pattern, each creation is a reflection of your passion and creativity.
Remember, the journey of mastering latte art is as fulfilling as the outcome. Each cup you make is an opportunity to improve, to experiment, and to express yourself. Don’t be discouraged by the initial challenges. With each swirl and pour, you’re not just making coffee; you’re crafting an experience, both for yourself and for those who get to enjoy your creations.
So, embrace the process. Experiment with different techniques, try out various milk types, and don’t be afraid to venture into more intricate designs as you gain confidence. Share your art with friends and family, and let their smiles be your reward.
In the end, making latte art at home is about enjoying the moment, savoring the coffee, and delighting in the beauty you can create with just a little milk and espresso. Keep practicing, keep experimenting, and most importantly, keep enjoying every cup!


